
CTT Guide: Cricut Blades & Tools
Cricut Blades & Tools: What You Actually Need (Explore vs Maker vs Joy)
If you’ve ever stared at Design Space like… “Which blade is that?” you’re not alone.
The good news: most crafters only need a few tools to cover 90% of projects. Below is a quick, practical guide to the most common Cricut blades and tools—plus what works with Explore, Maker, Joy, and Joy Xtra.
Affiliate Disclosure: Some links in this post are affiliate links, which means I may earn a small commission if you choose to buy—at no extra cost to you. I only share products I genuinely use or recommend.
One Thing to Know First: Clamp A vs Clamp B (Explore/Maker)
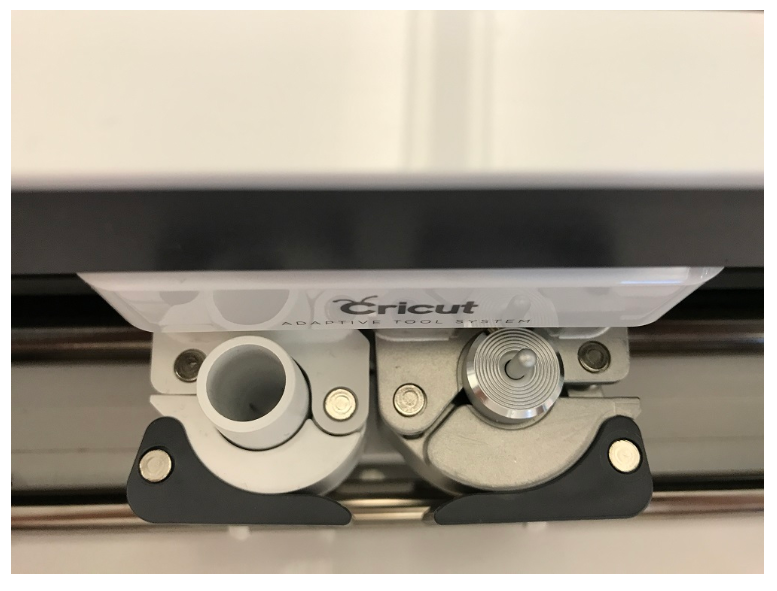
This one saves so much frustration:
Clamp B: blades + cutting tools (fine-point, deep point, rotary, knife, QuickSwap tools)
Clamp A: pens/markers + scoring stylus
(Joy and Joy Xtra don’t use Clamp A/B the same way—see the Joy section below.)
The “Most People Need These” Tools (Explore + Maker)
Premium Fine-Point Blade (Your Everyday Blade)
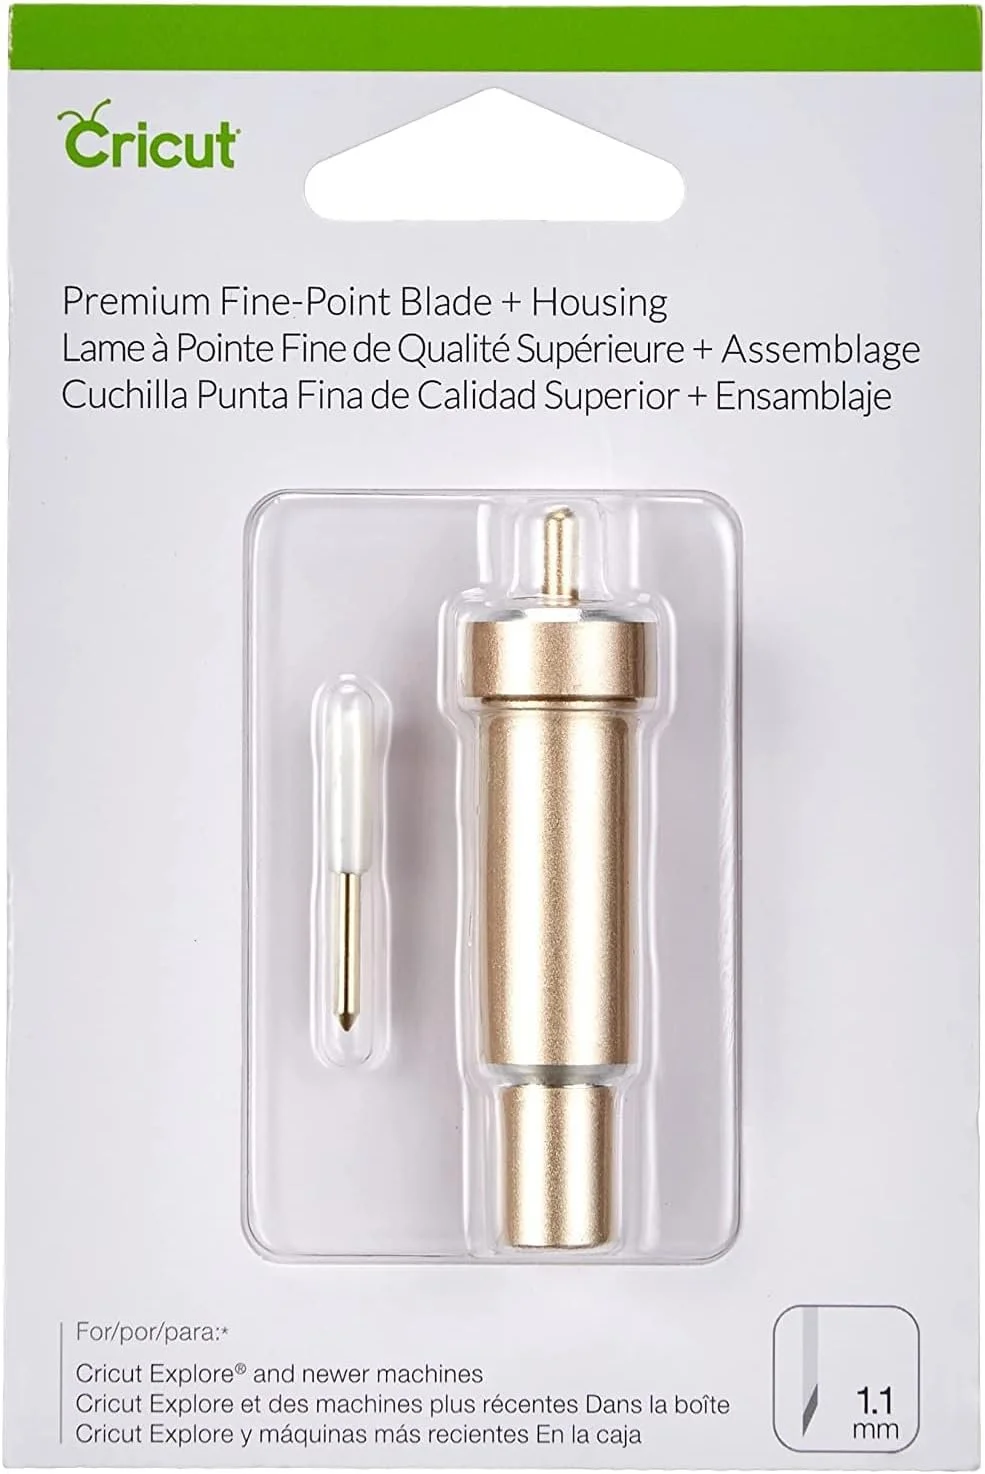
Premium Finepoint Blade
Use it for:
Paper + cardstock
Vinyl
HTV (iron-on)
Light poster board
Most everyday projects
Good to know: You’ll see gold or silver housings—both are fine-point housings. If your cuts get fuzzy or start tearing paper, it might be time for a fresh blade.
Deep Point Blade (Black Housing Required)
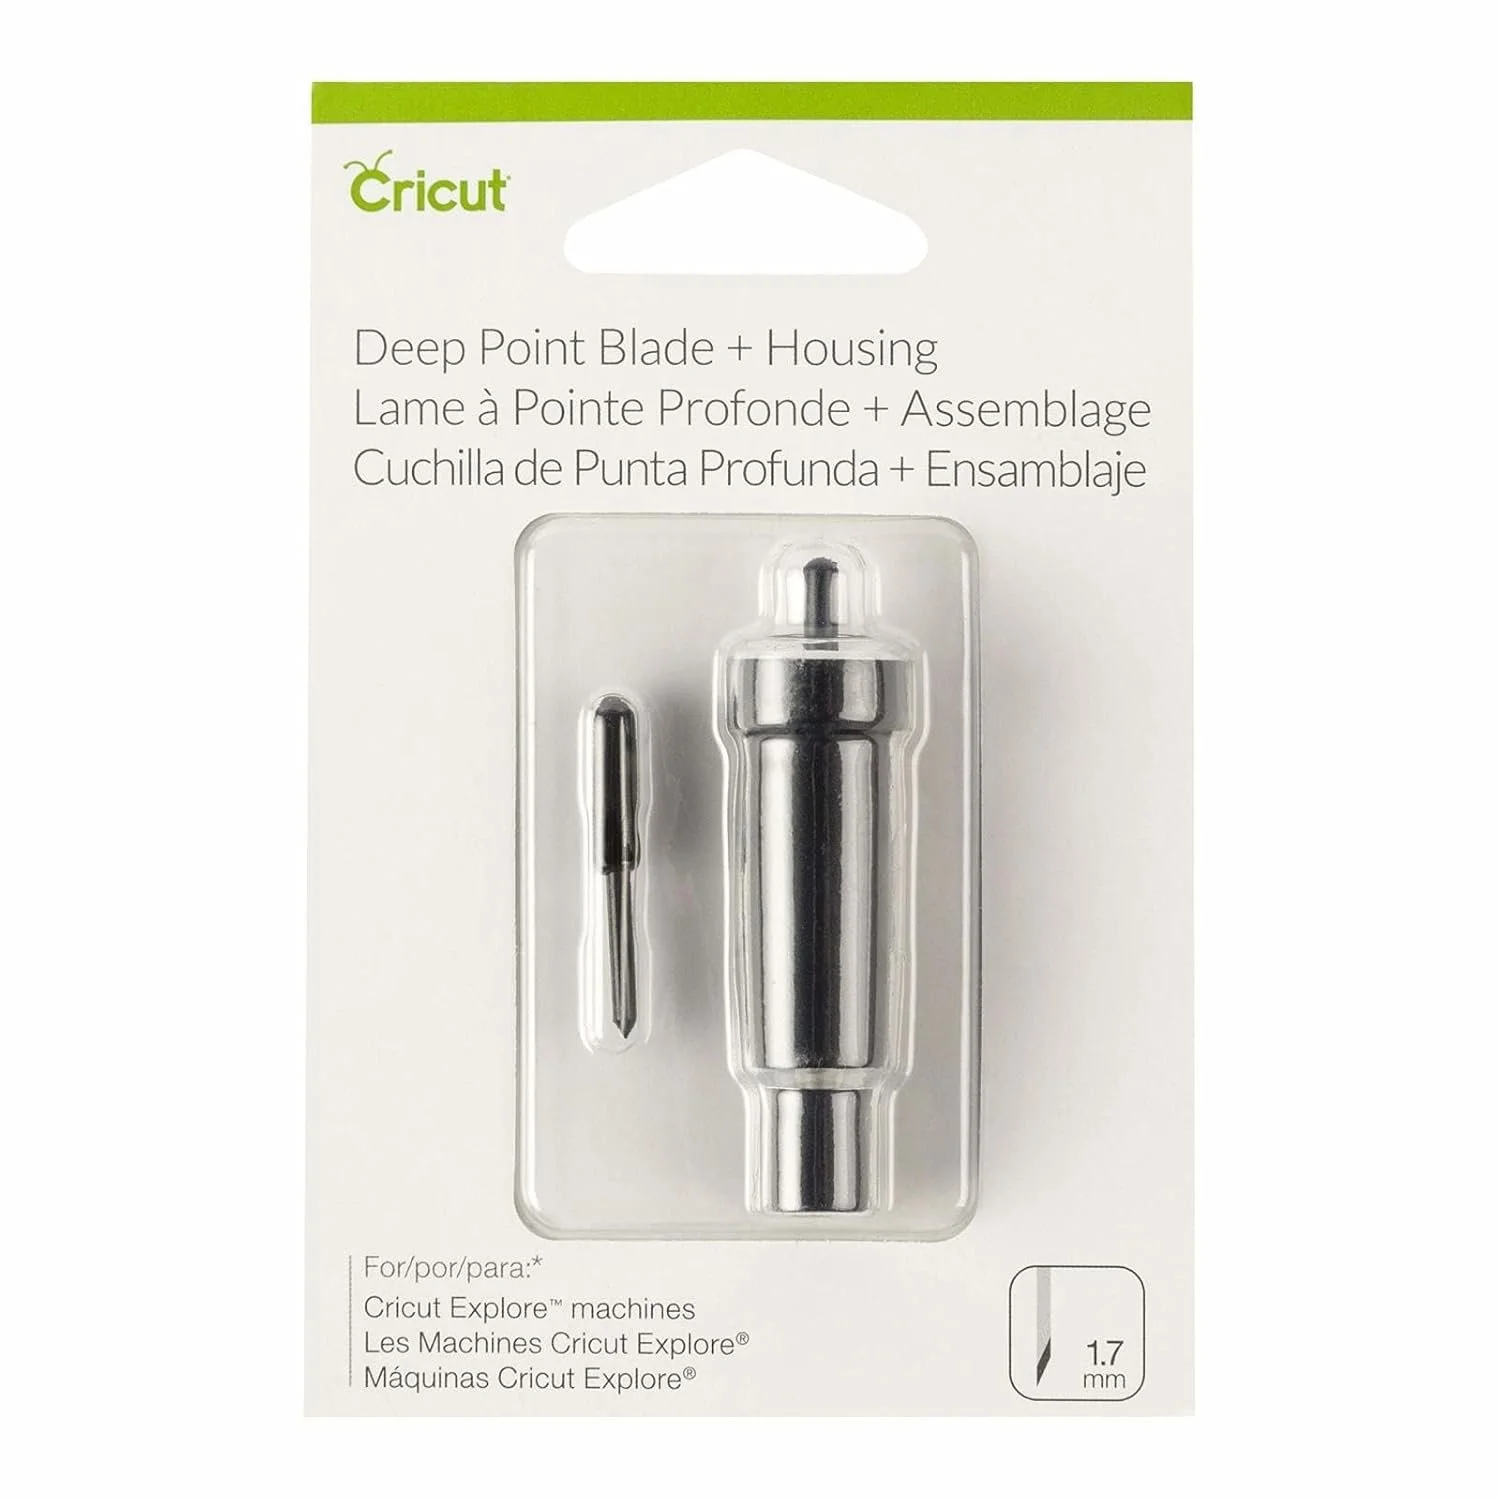
Deep Point Blade
Use it for:
Magnet sheets
Thicker cardstock
Chipboard (light)
Foam board (select types)
Some fabrics (with backing)
Important: The deep point blade requires the black deep point housing. This is one of the most common “why isn’t it cutting right?” issues.
Bonded-Fabric Blade
Bonded Fabric Blade
Bonded fabric
Fabric with iron-on backing (or stabilizer)
If you’re cutting fabric on an Explore or Maker, this is usually the route: fabric needs support/backing.
Foil Transfer Tool
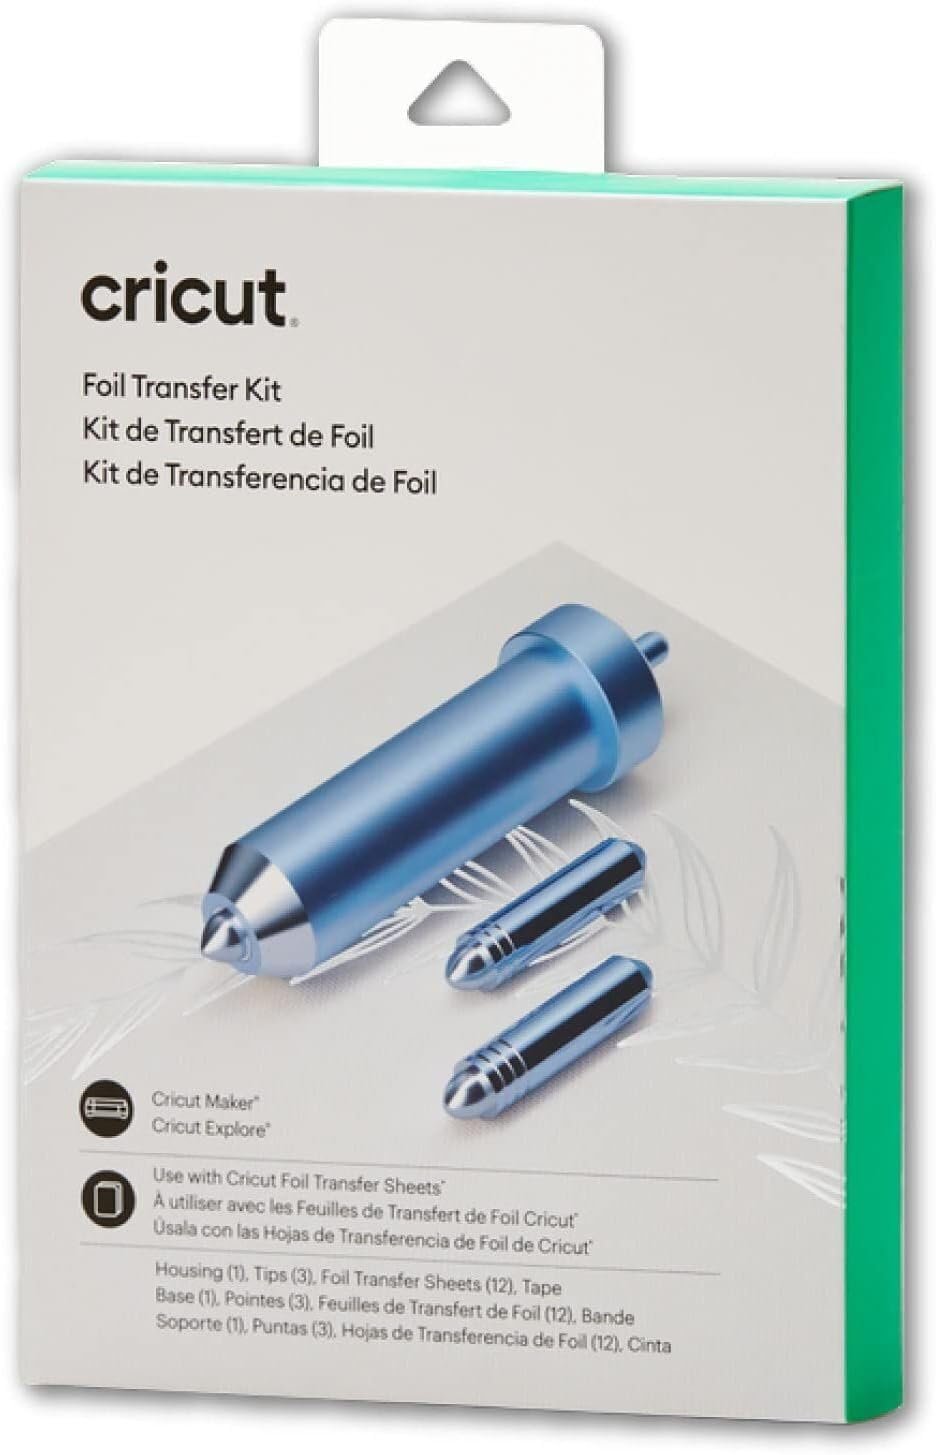
Foil Transfer Tool
Use it for:
Foil transfer sheets (decorative foiling)
This tool usually comes with interchangeable tips, and it works on Explore and Maker models that support it.
Scoring Stylus (Paper Crafters: This One Is a Game-Changer)
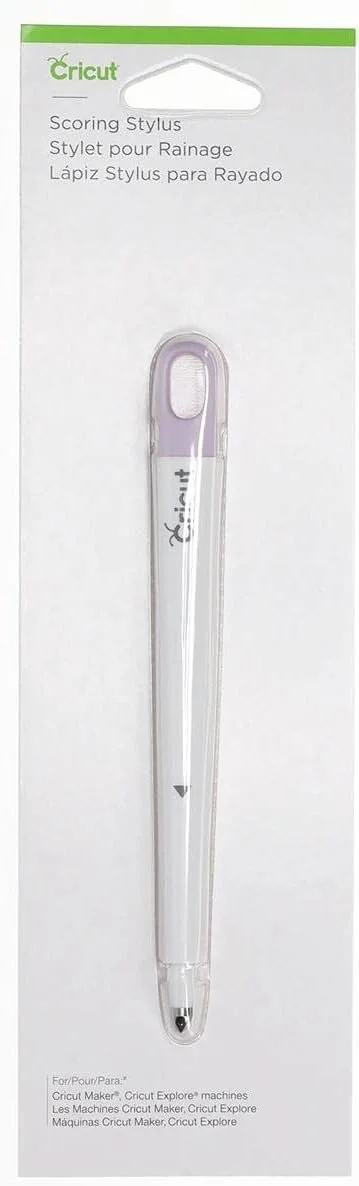
Scoring Stylus
Use it for:
Cards
Envelopes
Boxes + 3D projects
Crisp folds and score lines
The scoring stylus sits in Clamp A.
Maker-Only Tools (Explore Can’t Use These)
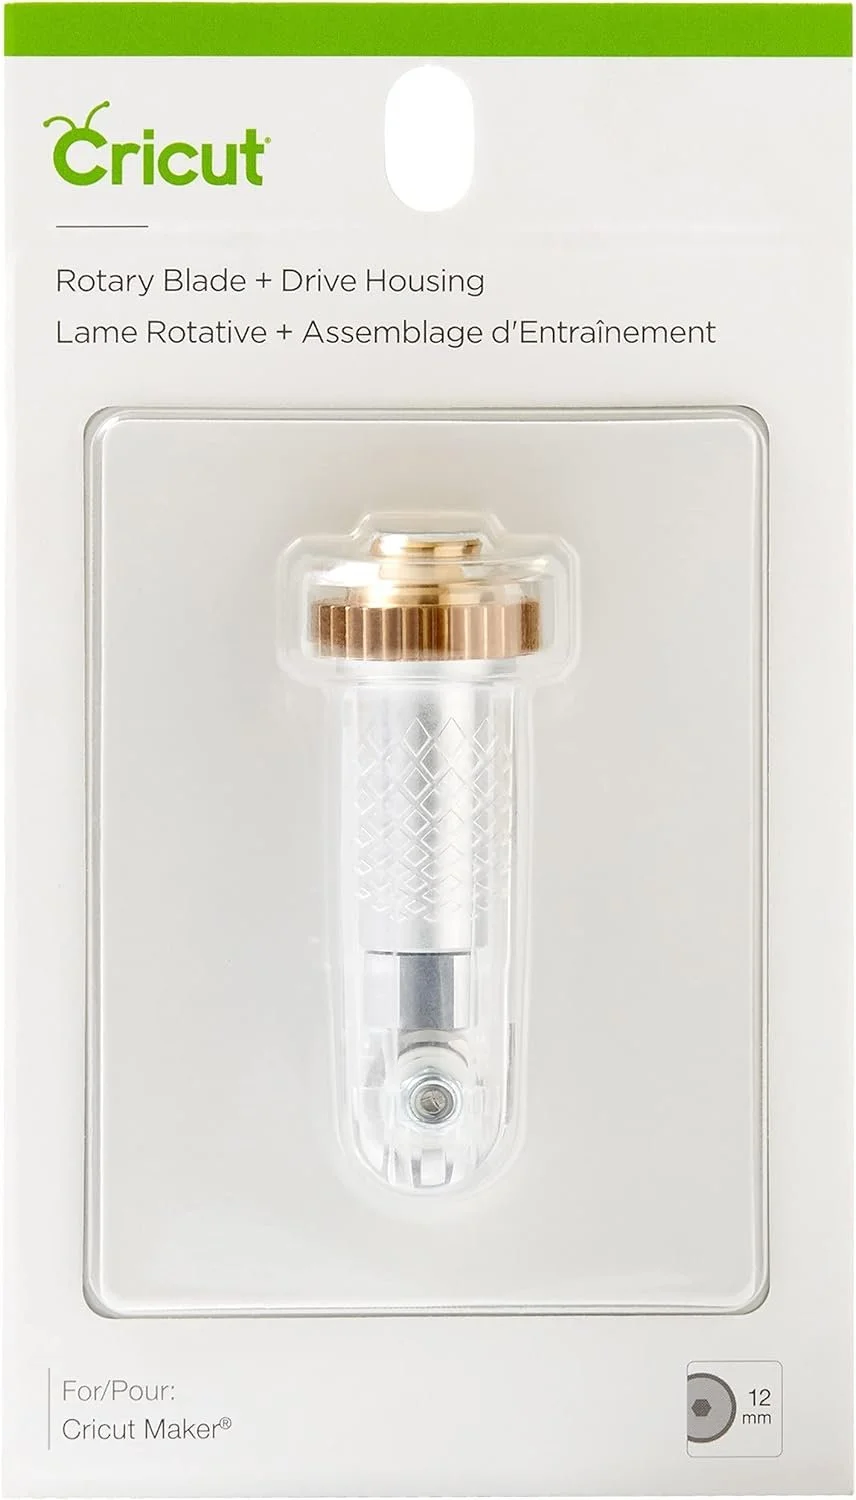
Use it for:
Unbonded fabric
Felt + delicate soft materials (depending on type)
Best tip: Use a FabricGrip (pink) mat, and keep shapes a little larger/simpler for cleaner results.
Knife Blade (Thick Materials)
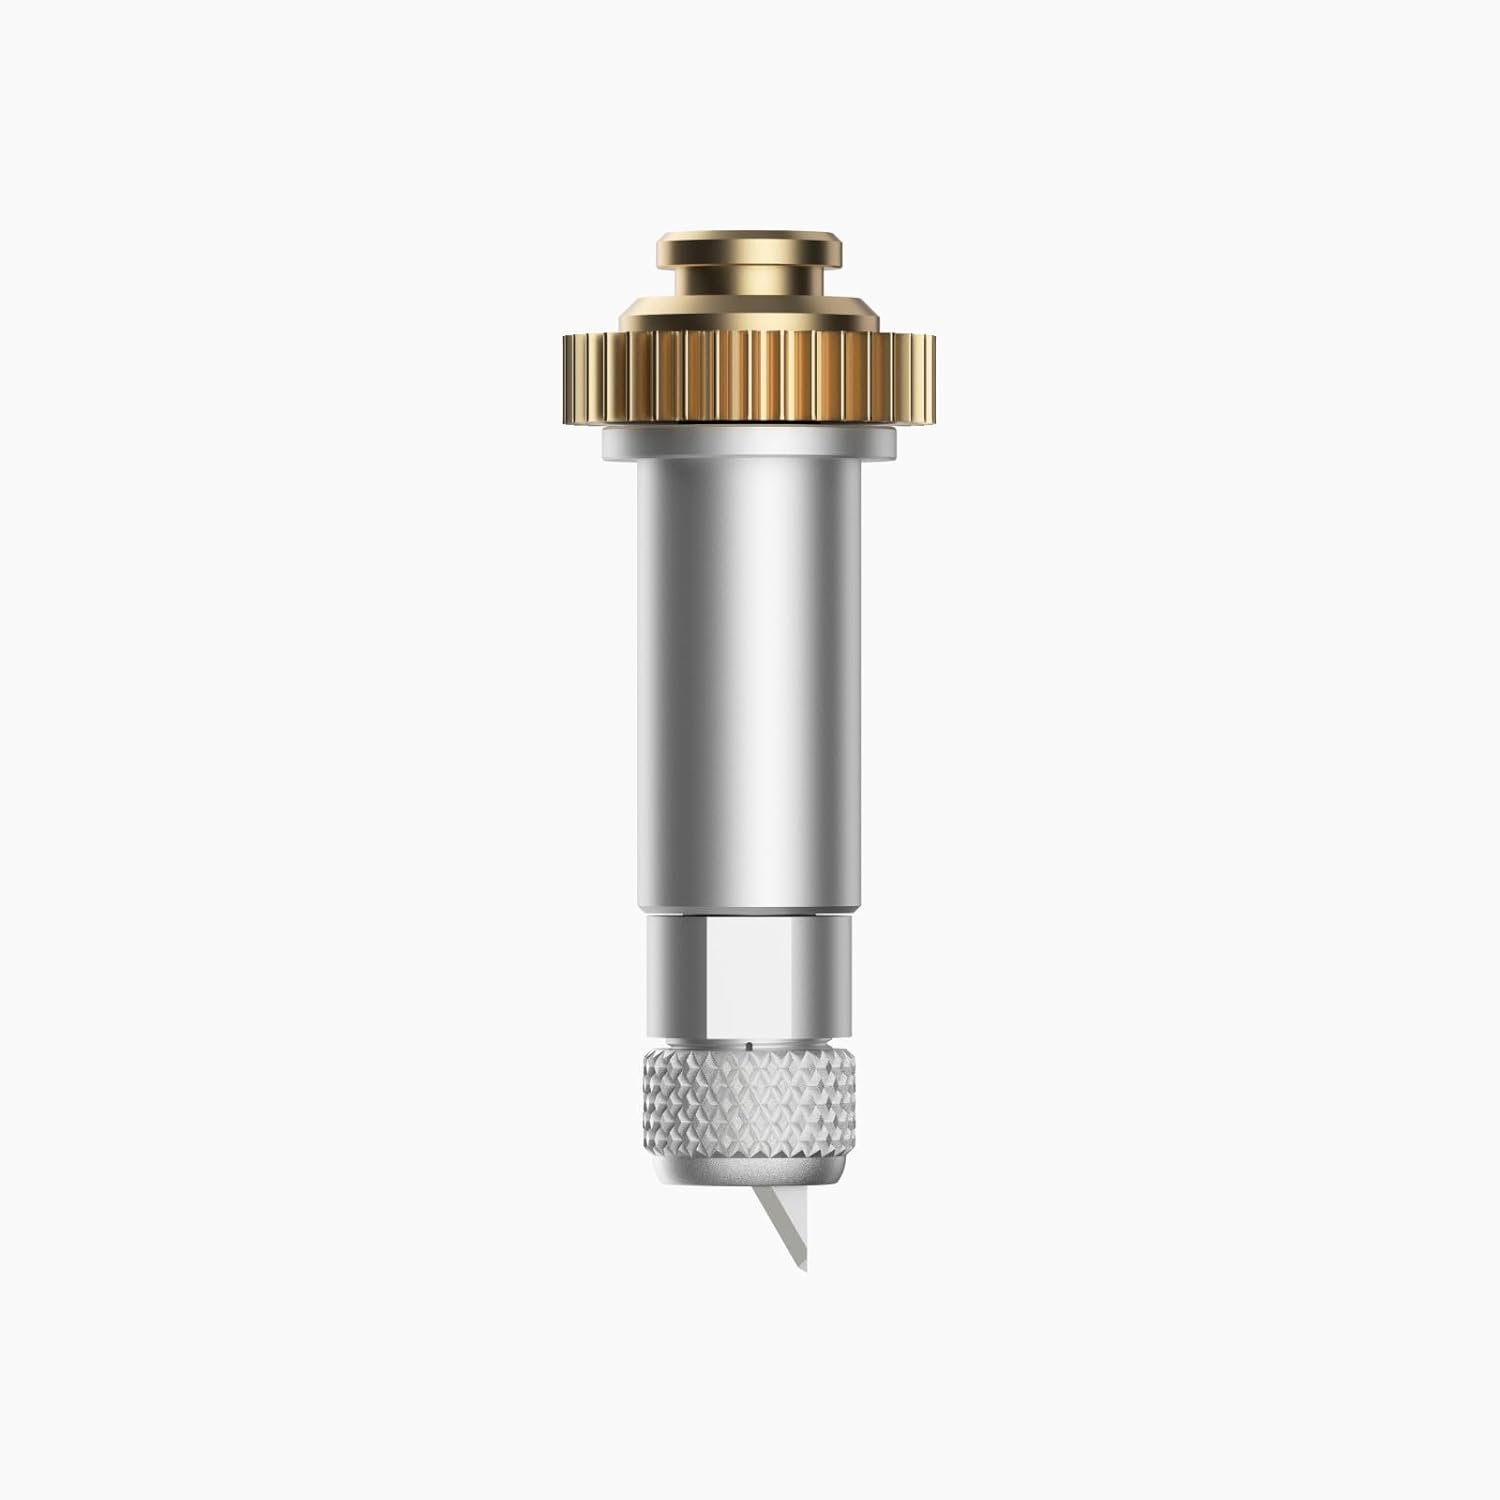
Knife Blade
Use it for:
Balsa wood
Mat board
Materials up to 3/32" (2.4mm)
Tips that matter:
Move the star wheels to prevent marks on thicker materials
Long cuts are best done on desktop (be patient—knife blade cuts can take time)
QuickSwap Tools (Optional Upgrades)
All of these use the QuickSwap housing:
You don’t need these to start—but they’re fun upgrades for paper crafters and detail work.
Joy + Joy Xtra (What’s Different)
Joy machines are designed for smaller, faster projects—especially Smart Materials—and they use a different blade setup than Explore/Maker.
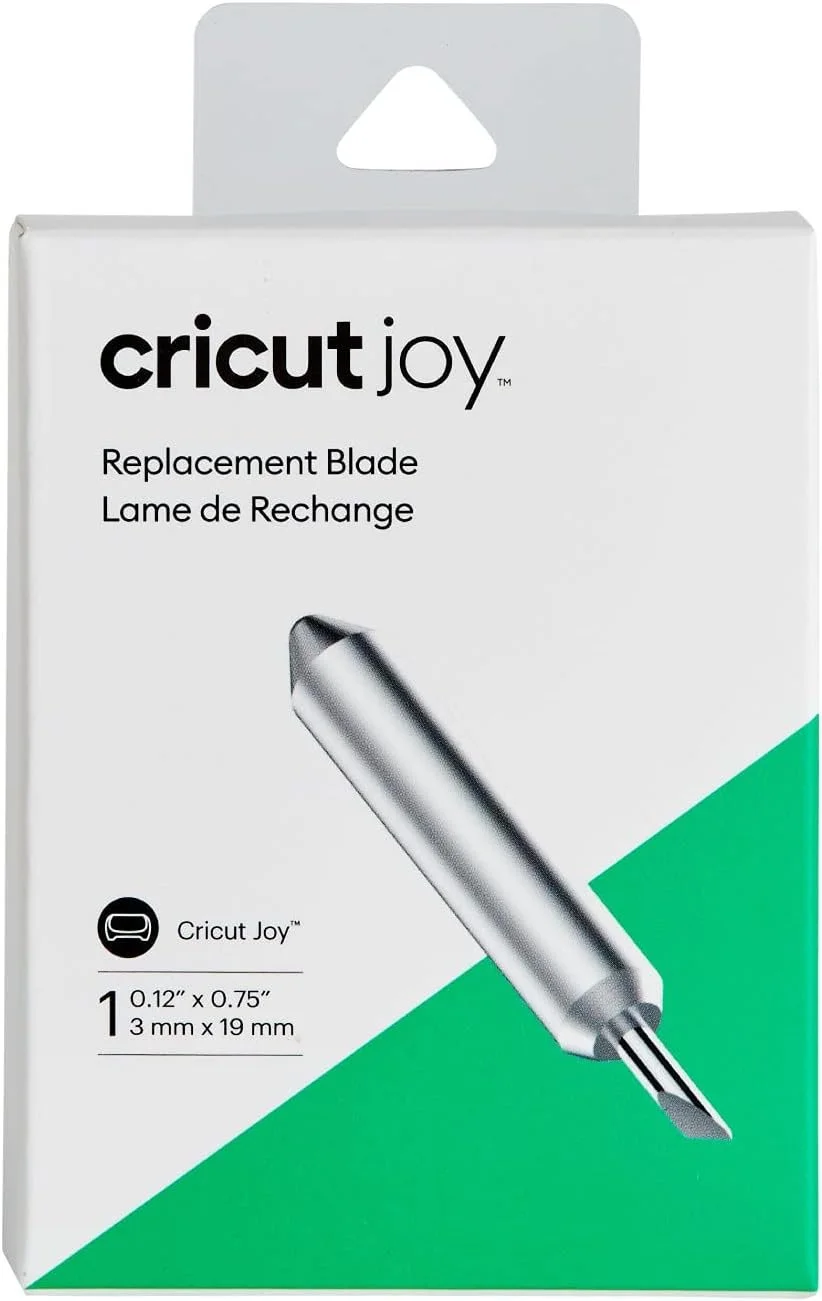
Cricut Joy and Joy Xtra Blades
Common use: small vinyl projects, labels, cards
Blade: uses a small Joy blade (fine-point style) for most cuts
Notes: great for quick projects, but it’s not built for thick materials like Maker tools are.
Joy/Joy Xtra quick takeaway: if you’re mainly doing vinyl, HTV, cardstock, and stickers—Joy machines can be a great fit. If you want fabric without backing or thick materials, you’re in Maker territory.
Quick “Which Tool Do I Use?” Cheat List
Paper/Cardstock/Vinyl/HTV: Premium Fine-Point (Explore/Maker) • Joy/Joy Xtra fine-point-style blade
Thicker materials (magnet, thicker cardstock): Deep Point + black housing (Explore/Maker)
Cards/boxes/folds: Scoring Stylus (Explore/Maker)
Foiling: Foil Transfer Tool (Explore/Maker compatible models)
Unbonded fabric: Rotary Blade (Maker only)
Wood/mat board: Knife Blade (Maker only)
Troubleshooting: When Cuts Suddenly Look Bad
If your cuts were fine yesterday and terrible today, try this quick order:
Check the blade housing for lint/paper dust
Reseat the blade housing (make sure it’s firmly in place)
Swap to a fresh blade (especially for cardstock)
Confirm you’re using the correct housing (Deep Point = black housing)
Need Help Picking the Right Blade or Setting?
Join Cricut Tips & Tricks on Facebook and post:
your machine (Explore/Maker/Joy)
your material
the setting you chose
a photo of the cut
You’ll get faster, more accurate troubleshooting when we can see what’s happening.