
CTT Guide: Mats
Which Cricut Mat Should You Use?
If your paper is tearing, vinyl is sliding, or your cut looks jagged… it’s usually not you. It’s the mat.
Cricut mats come in different grip strengths, and using the right one makes your projects cut cleaner, weed easier, and waste less material.
Here’s the simple breakdown (plus the quick fixes you’ll use over and over).
Cricut Mat Colors and What They’re For
Blue Mat: LightGrip
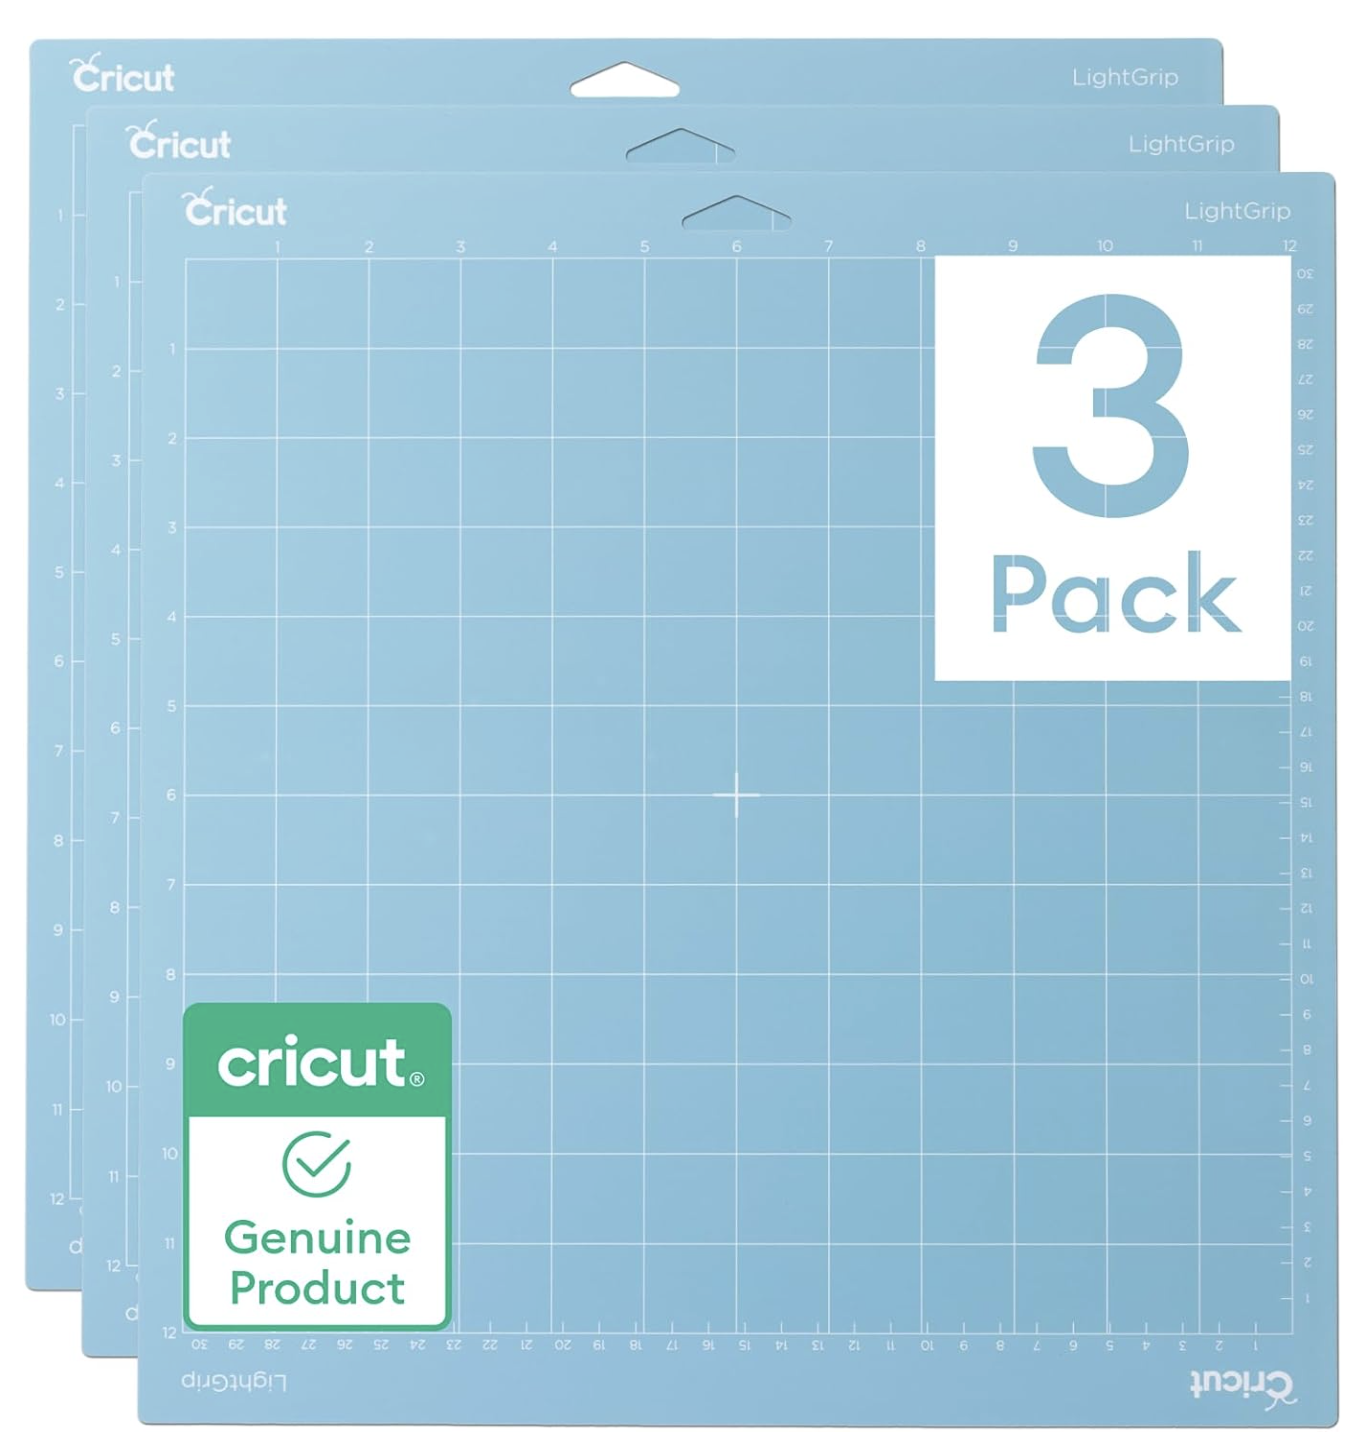
Make it stand out
Cricut’s lightgrip 12x12 mats are available on Amazon!
Best for:
Light cardstock
Office paper
Vellum
Sticker paper
Why it works: The lighter adhesive holds delicate materials without ripping or curling them.
Tip: If your paper curls when you remove it, flip the mat face-down and peel the mat away from the paper instead of peeling the paper up.
Green Mat: StandardGrip
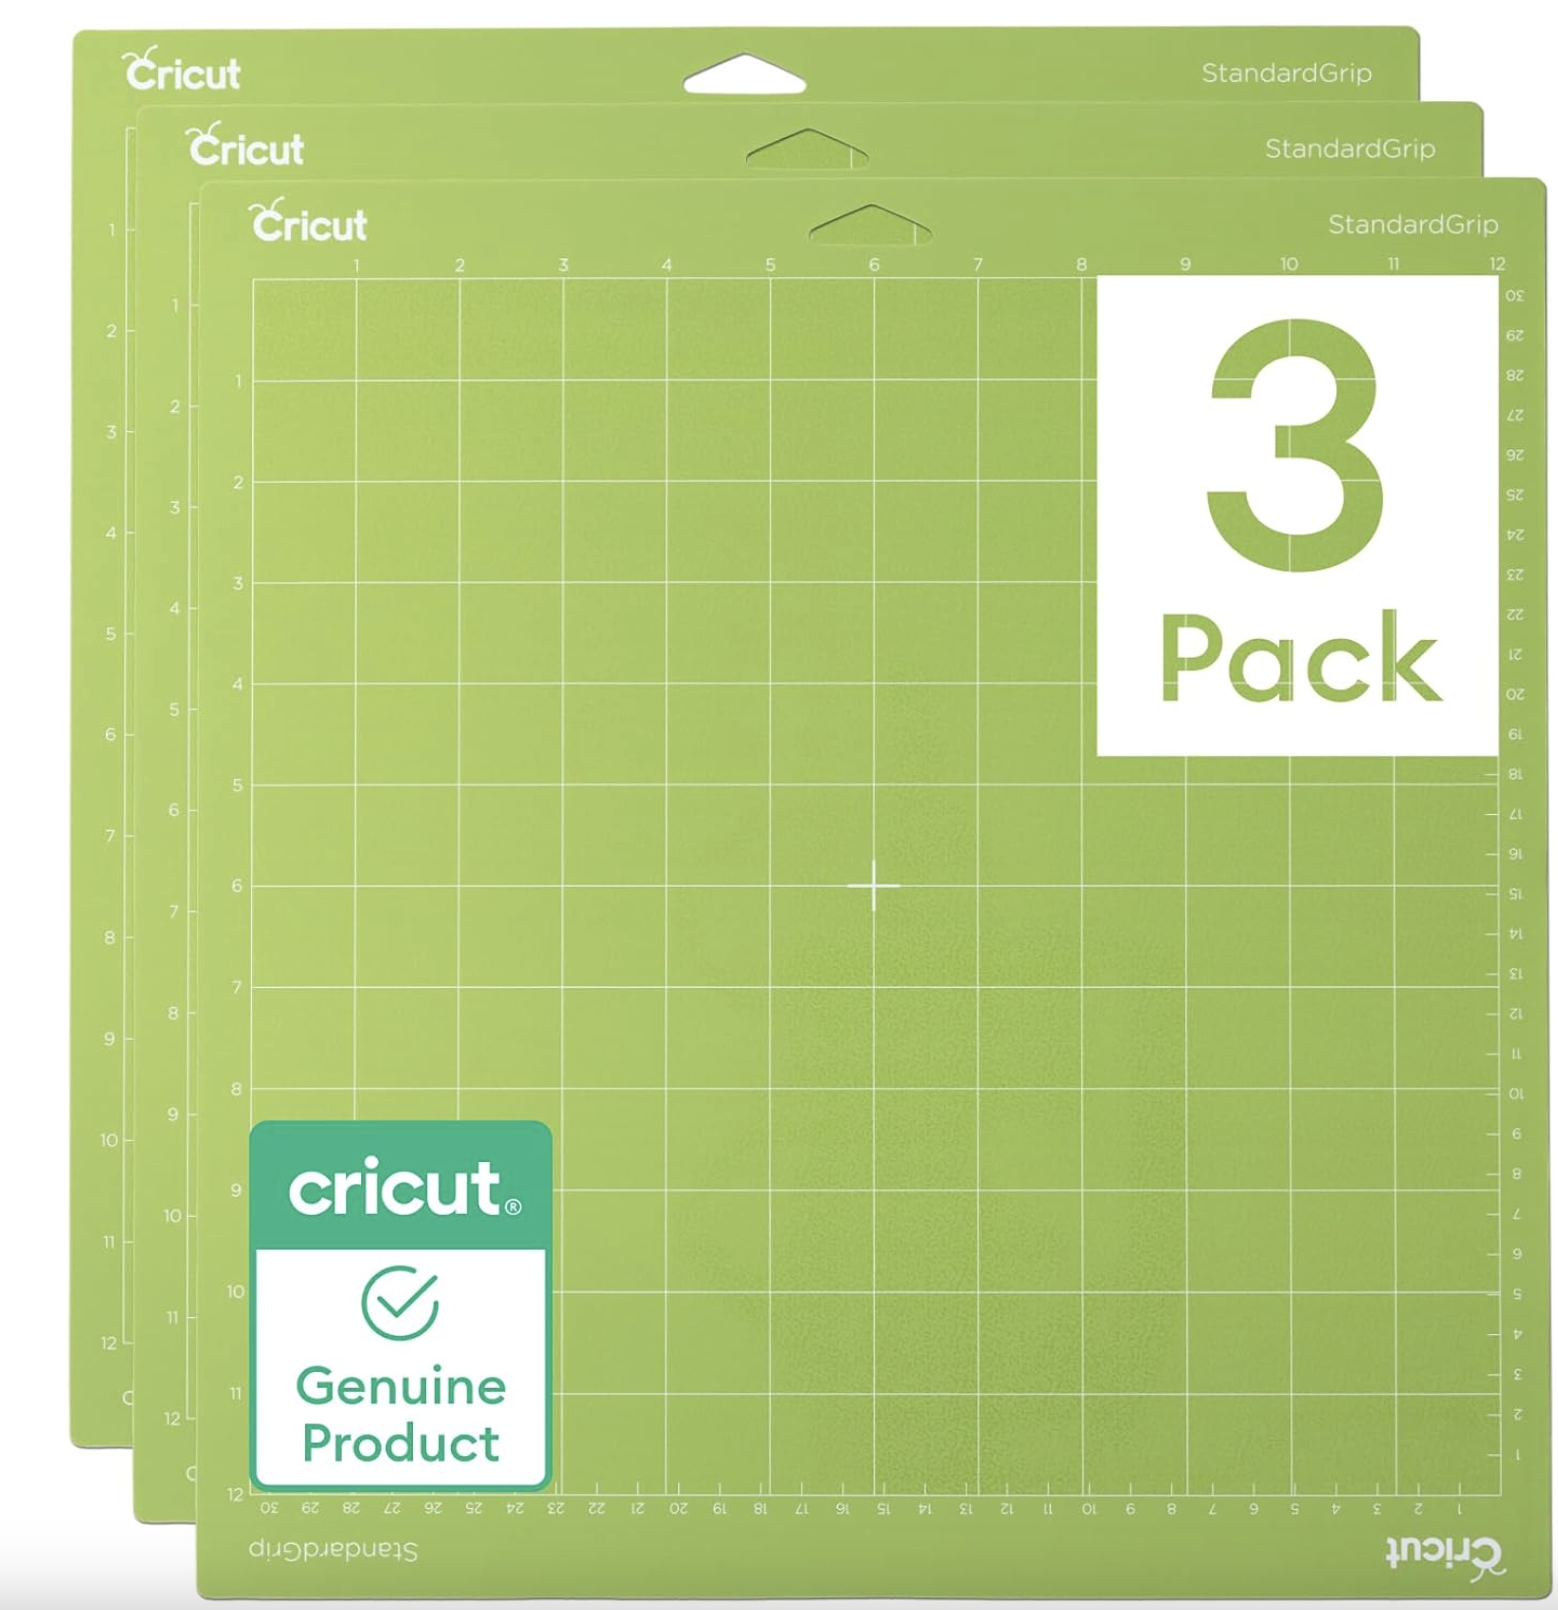
Cricut Standard Grip Mats
Is your mat not sticking the way it used to? Grab these from the ‘zon!
Best for:
Cardstock
Patterned paper
Embossed cardstock
Vinyl
HTV (Iron-on)
Why it works: It’s your everyday mat—strong enough to hold most materials but not overly aggressive.
Tip: If vinyl or cardstock lifts while cutting, use a brayer to press it down evenly before you hit “Go.”
Purple Mat: StrongGrip
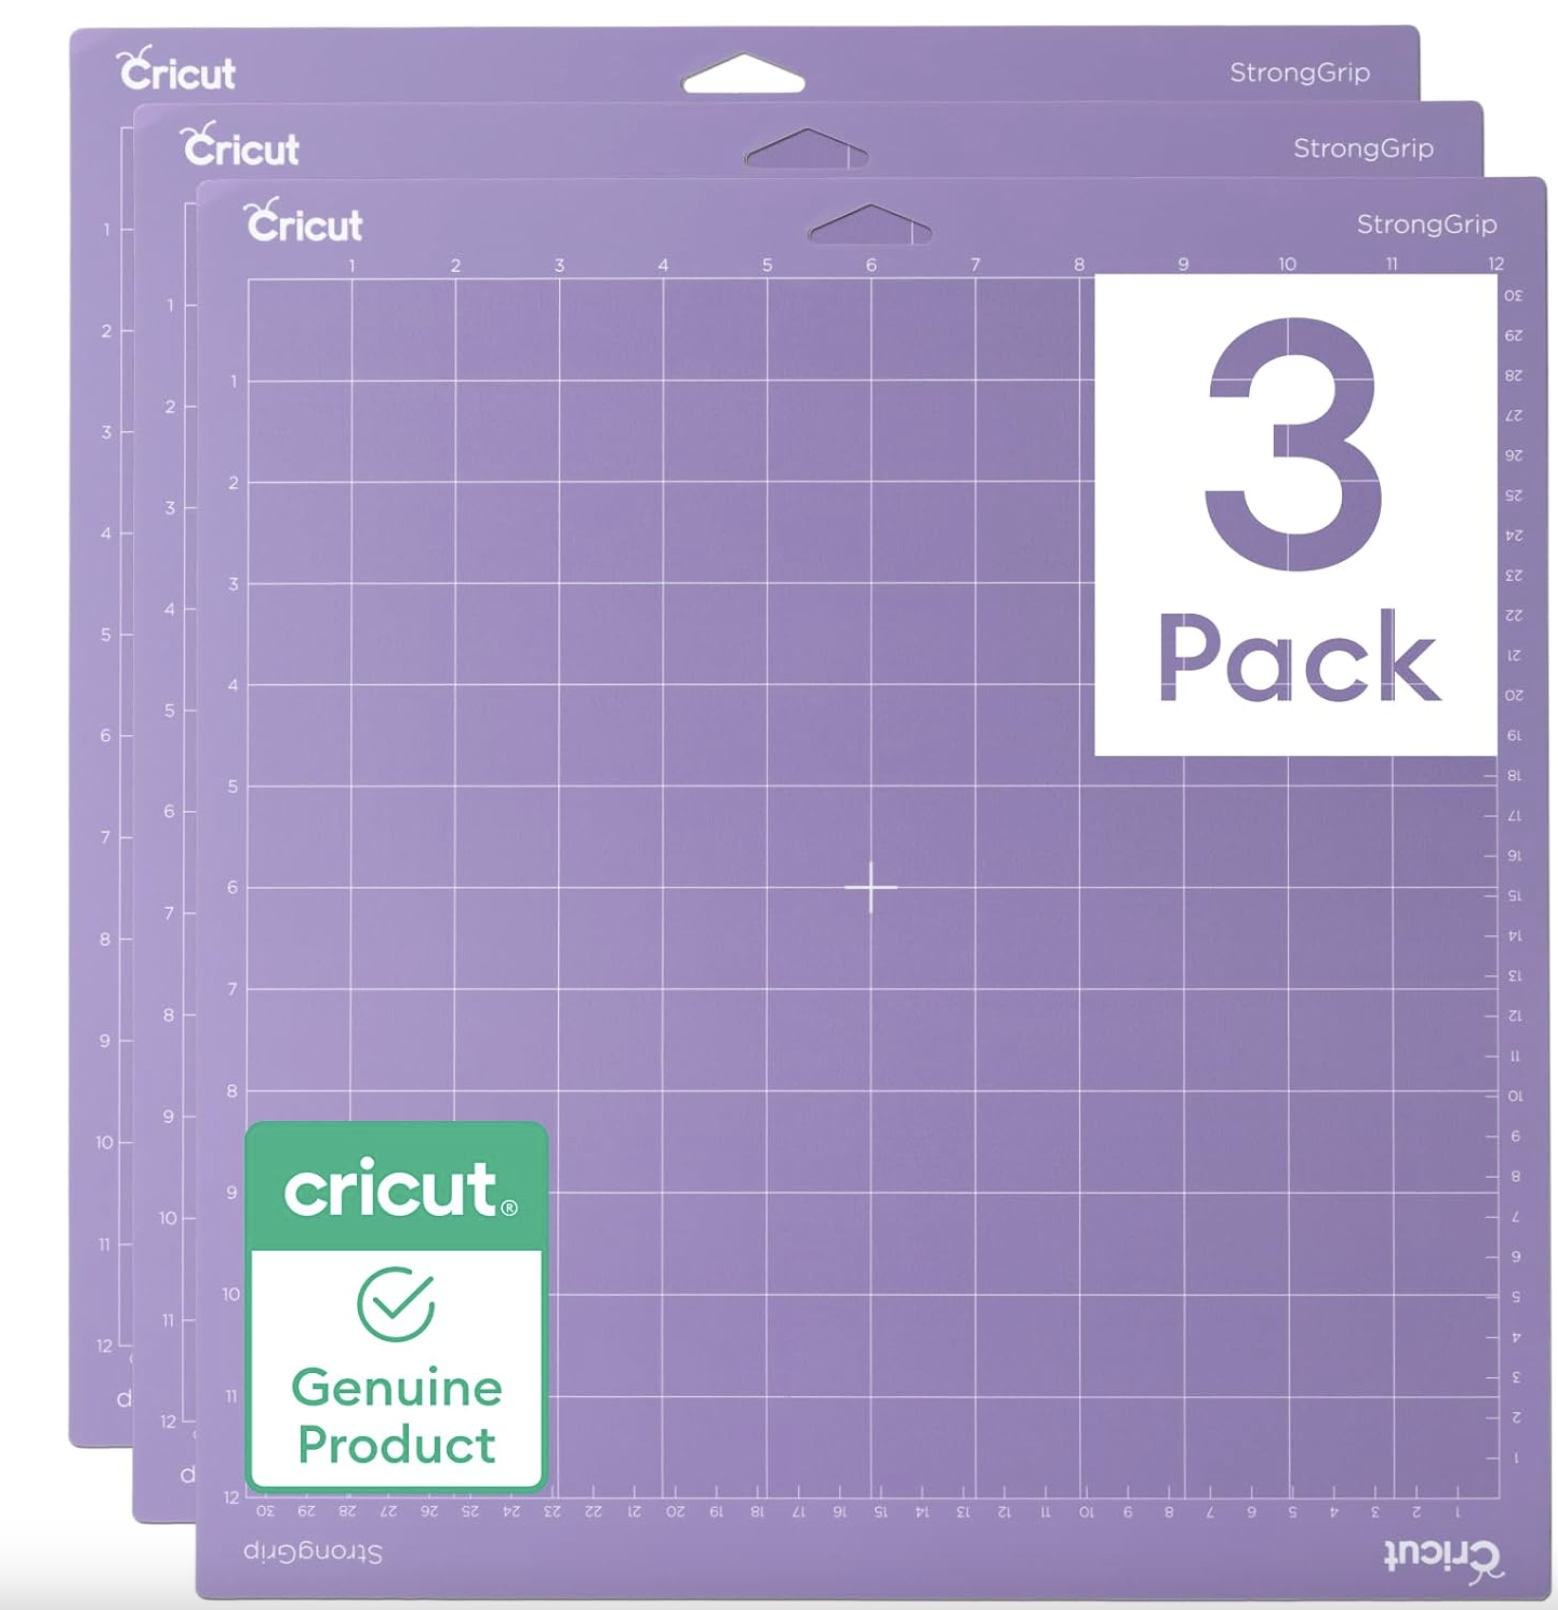
Cricut StrongGrip Mat! These things are STRONG!
Grab yours from Amazon!
Best for:
Heavy cardstock
Glitter cardstock
Chipboard
Poster board
Fabric with stiffener
Why it works: Thicker, heavier materials need extra hold so they don’t shift mid-cut.
Tip: StrongGrip can be too sticky for delicate materials. “De-stick” it by pressing a clean cotton t-shirt on the mat once or twice before placing your material down.
Pink Mat: FabricGrip
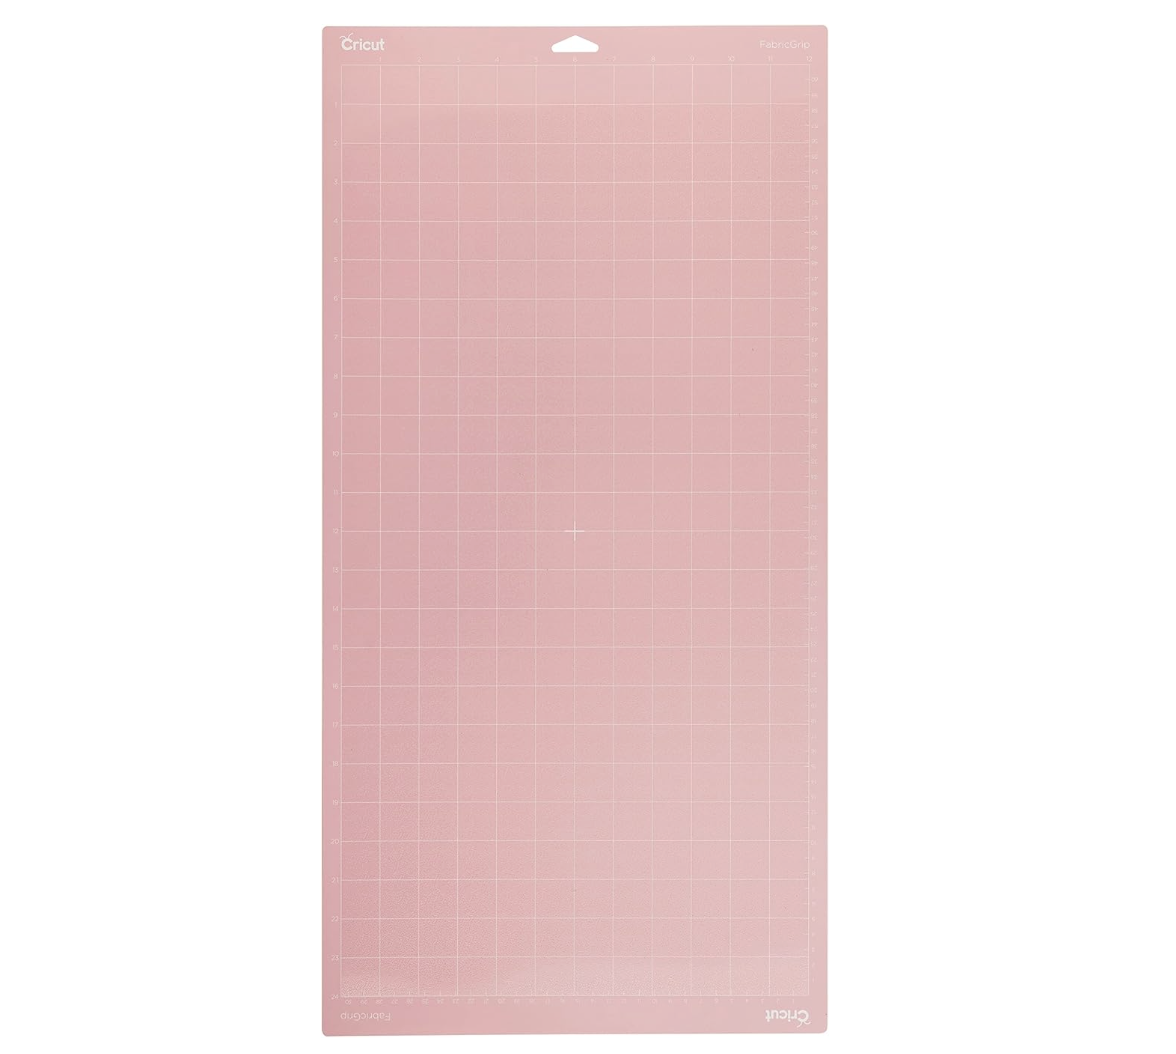
Have a Maker? These Fabric Mats are AMAZING!
THIS one is a big one! It’s 12x24 so it can handle even some of your biggest projects!
Best for:
Unbonded fabric
Felt
Faux leather
Leather
Why it works: Designed for fabric so it holds well without shredding or leaving too much residue.
Tip: For faux leather, tape the edges if you notice shifting (and keep details simple for cleaner cuts).
The 30-Second “Before You Cut” Checklist
These tiny steps prevent most cutting problems:
Brayer your material down (especially cardstock and vinyl)
Make sure your blade is clean and fully seated
Confirm you chose the right mat for the material
If it’s a new material/brand, do a small test cut
How to Clean Cricut Mats (3 Easy Ways)
A dirty mat loses grip fast. Pick the method that matches your mess level:
1) Soap + Water + Plastic Bristle Brush
Mild soap and lukewarm water
Gently scrub in circles
Rinse and air dry completely
2) Windex + Scraper
Light spray
Scrape up debris
Wipe clean and let dry
3) Baby Wipes
Perfect for quick lint/dust cleanup between projects
Let air dry before using again
Important: Always air dry fully before cutting again.
When to Replace a Cricut Mat
Replace it when it won’t hold materials well even after cleaning.
I don’t recommend “re-sticking” mats with sprays or adhesives—those can transfer residue to your materials and create buildup over time.
Quick Fixes for Common Cricut Mat Problems
Paper is curling
Flip the mat and peel the mat away from the paper.
Material is sliding while cutting
Brayer the material down, clean the mat, and tape corners if needed (avoid the cut area).
Paper is tearing or shredding
Use a lighter grip mat, reduce pressure, or de-stick a too-sticky mat.
Cuts aren’t going through
Double-check material setting, clean/replace your blade, and make sure the material is fully adhered.
Need more guides? Check out the next post on Blades!